

TensorFlow.js - Running MobileNet in the browser
text
Enhancing our web app
What's up, guys? In this post, we'll be adding new functionality to our deep learning web application to increase its speed and performance. Specifically, we'll see how we can do that by switching models, so let's get to it.

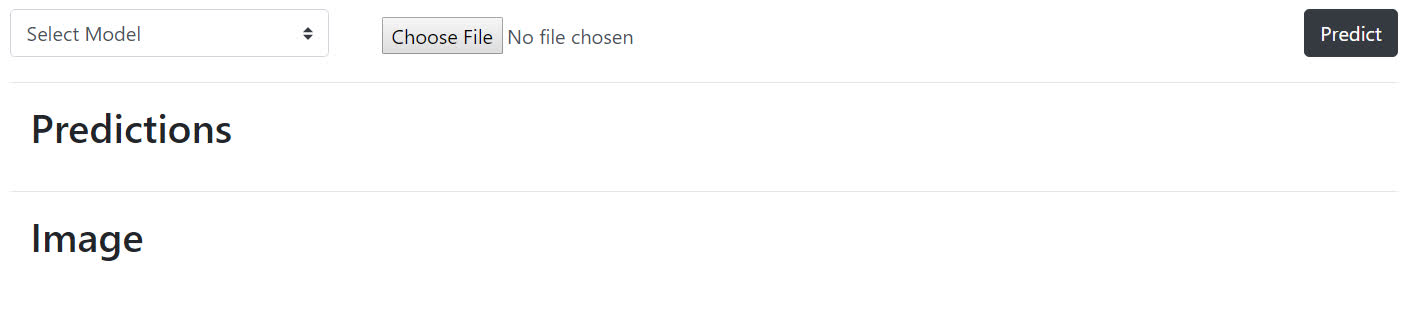
We currently have a web app that allows users to select and submit an image and subsequently receive a prediction for the given image.
Up to this point, we've been using VGG16 as our model. VGG16 gets the job done when it comes to giving accurate predictions on the submitted images, however, as we've previously discussed, a model of its size (over 500 MB), is not ideal for running in the browser. Because of this, we've seen a decent time delay in both loading the model as well as obtaining predictions from the model.

Well, we're in luck because we'll now make use of a much smaller model, MobileNet, which is pretty ideal size-wise for running in the browser, coming in at around 16 MB. With MobileNet,
we'll see a vast decrease in time for both loading the model and obtaining predictions.
Let's go ahead and get into the code to see what modifications we need to make.
Modifying the HTML
Alright, from within predict-with-tfjs.html, we're going to make a model selector where the user will have the ability to choose which model to use. For now, we'll have VGG16 and
MobileNet as available options.
Currently, the call to load the model occurs immediately when the web page is requested, but now, we'll change that functionality so that the model will be loaded once a user selects which model they'd like to use.
Create a model selector
Our model selector will take on the form of an HTML select element. So, the first thing we need to do is add this element to our HTML.
class="col-3">
Within the same row as the image-selector and the predict-button, we're adding this new select element within a column to the left of both of the previously
mentioned elements.
When users show up to the page, the model-selector will be set to the option that states “Select Model,” and they'll have the option to choose either MobileNet or VGG16.
Hide the progress bar
Now also, recall how we mentioned that until now, the model was being loaded immediately when a user arrived at the page, and during this time, the progress bar would show to indicate loading.
Since we'll be changing the functionality so that the model isn't loaded until a user chooses which model they want to use, we don't need the progress bar to show until that model is selected.
So, navigating to the progress-bar element, we're going to set the display style attribute to none, which will hide the progress bar until we explicitly instruct
it to be shown in the JavaScript code.
class="row">
    class="col-12">
        class="progress progress-bar progress-bar-striped progress-bar-animated mb-2" style="display:none">
            Loading Model
Alright, that's it for the changes to our HTML.
Modifying the JavaScript
Jumping to predict.js, we'll now specify what should happen once a user selects a model.
Selecting a model
When a model is selected, this will trigger a change() event on the model-selector.
$("#model-selector").change(function () {
    loadModel($("#model-selector").val());
});
We're handling this event by calling a new function, which we'll discuss in moment, called loadModel(). loadModel() essentially does what it sounds like it does. We
pass this function the value from model-selector, which is either going to be MobileNet or VGG16.
Loading the model
Remember how previously, we were loading the model using an Immediately Invoked Function Expression or IIFE? Well, now that we don't want to load the model until we explicitly call loadModel(),
like we just specified, we no longer want this loading to happen within an IIFE.
The code for loadModel() is actually super similar to the IIFE we had before, just with some minor adjustments.
let model;
async function loadModel(name) {
    $(".progress-bar").show();
    model = undefined;
    model = await tf.loadLayersModel(`http://localhost:81/tfjs-models/${name}/model.json`);
    $(".progress-bar").hide();
}
loadModel() accepts the name of the model to be loaded. Once called, the progress bar will be shown to indicate the model is loading.
We initially set model to undefined so that in case we're in a situation where we're switching from one model to another, the previous model can be cleared from memory.
Afterwards, we set model to the result of calling the TensorFlow.js function tf.loadLayersModel(). Remember, this function accepts the URL to the given model's model.json file.
With the way we organized our models on-disk in a previous video, the models reside in folders that were given the names of the actual models. For example, the VGG16 files reside within a directory called VGG16,
and the MobileNet files reside within a directory called MobileNet.
So when we give the URL to the model.json, we use the name of the selected model to point to the correct location for where the corresponding json file resides.
Once the model is loaded, we then hide the progress bar.
Alright, now let's navigate to the click() event for the predict-button.
Predicting on images
Previously, within this handler function, we would get the selected-image, and then we would do all the preprocessing for VGG16 and then get a prediction. Well now, since we have two different
models that preprocess images differently, we're putting the preprocessing code into its own function called preprocessImage().
$("#predict-button").click(async function () {
    let image = $("#selected-image").get(0);
    let modelName = $("#model-selector").val();
    let tensor = preprocessImage(image, modelName);
    ...
So now, once a user clicks the predict-button, we get the selected-image, we get the model name from the value of the model-selector, and we then create a tensor,
which is set to the result of our new preprocessImage() function. We pass the function both the image and the modelName.
Let's go check out this function.
Preprocessing image data
Alright, as just touched on, preprocessImage() accepts an image and the modelName.
Generic preprocessing
function preprocessImage(image, modelName) {
    let tensor = tf.browser.fromPixels(image)
        .resizeNearestNeighbor([224, 224])
        .toFloat();
    ...
It then creates a tensor using tf.browser.fromPixels(), passing the given image to it, resizes this tensor to have height and width dimensions of 224 x 224, and casts the tensor's
type to float. All of this should look really familiar because we had this exact same code within the predict button's click() event in a previous video.
This code won't change regardless of whether we're using VGG16 or MobileNet.
Now, in case later we want to add another model, and say we only want the base generic preprocessing, then in that case we won't pass a modelName, and we'll catch that case with
this if statement that just returns the tensor with expanded dimensions.
if (modelName === undefined) {
    return tensor.expandDims();
}
VGG16 preprocessing
If VGG16 is the selected-model, then we need to do the remaining preprocessing that we went over together in earlier videos.
else if (modelName === "VGG16") {
    let meanImageNetRGB = tf.tensor1d([123.68, 116.779, 103.939]);
    return tensor.sub(meanImageNetRGB)
        .reverse(2)
        .expandDims();
}
We have our meanImageNetRGB tensor that we defined last time, and we subtract the meanImageNetRGB tensor from the original tensor, reverse the RGB values, and expand
the dimensions of the tensor.
We then return this tensor as the result of this function.
MobileNet preprocessing
If MobileNet is selected, on the other hand, then our preprocessing will be a bit different. Unlike VGG16, the images that MobileNet was originally trained on were preprocessed so that the RGB values were scaled down from a scale of 0 to 255 to a scale of -1 to 1.
else if (modelName === "MobileNet") {
    let offset = tf.scalar(127.5);
    return tensor.sub(offset)
        .div(offset)
        .expandDims();
}
We do this by first creating this scalar value of 127.5, which is exactly one half of 255.
We then subtract this scalar from the original tensor, and divide that result by the scalar. This will put all the values on a scale of -1 to 1. If you watched the
broadcasting video, notice the use of broadcasting that's going on with these operations behind the scenes.
Lastly, we again expand the dimensions and then return this resulting tensor.
Also, if a model name is passed to this function that isn't one of the available ones already here, then we throw this exception.
else {
    throw new Error("Unknown model name");
}
Alright, we've made all the necessary code changes. Let's now browse to our app and see the results!
App demo
We've arrived at our application, and we now have the new model selector we added in. Clicking on the selector, we can select either MobileNet or VGG16. Let's go ahead and select MobileNet.
From the video, you can see that it loads pretty fast! Remember when we loaded in VGG16 in previous videos, I had to pause and resume the video since it took so long to load, but MobileNet was speedy.
Alright, cool. Now we'll select an image. Click predict. And again, MobileNet was super fast relative to VGG16 in returning a prediction to us!
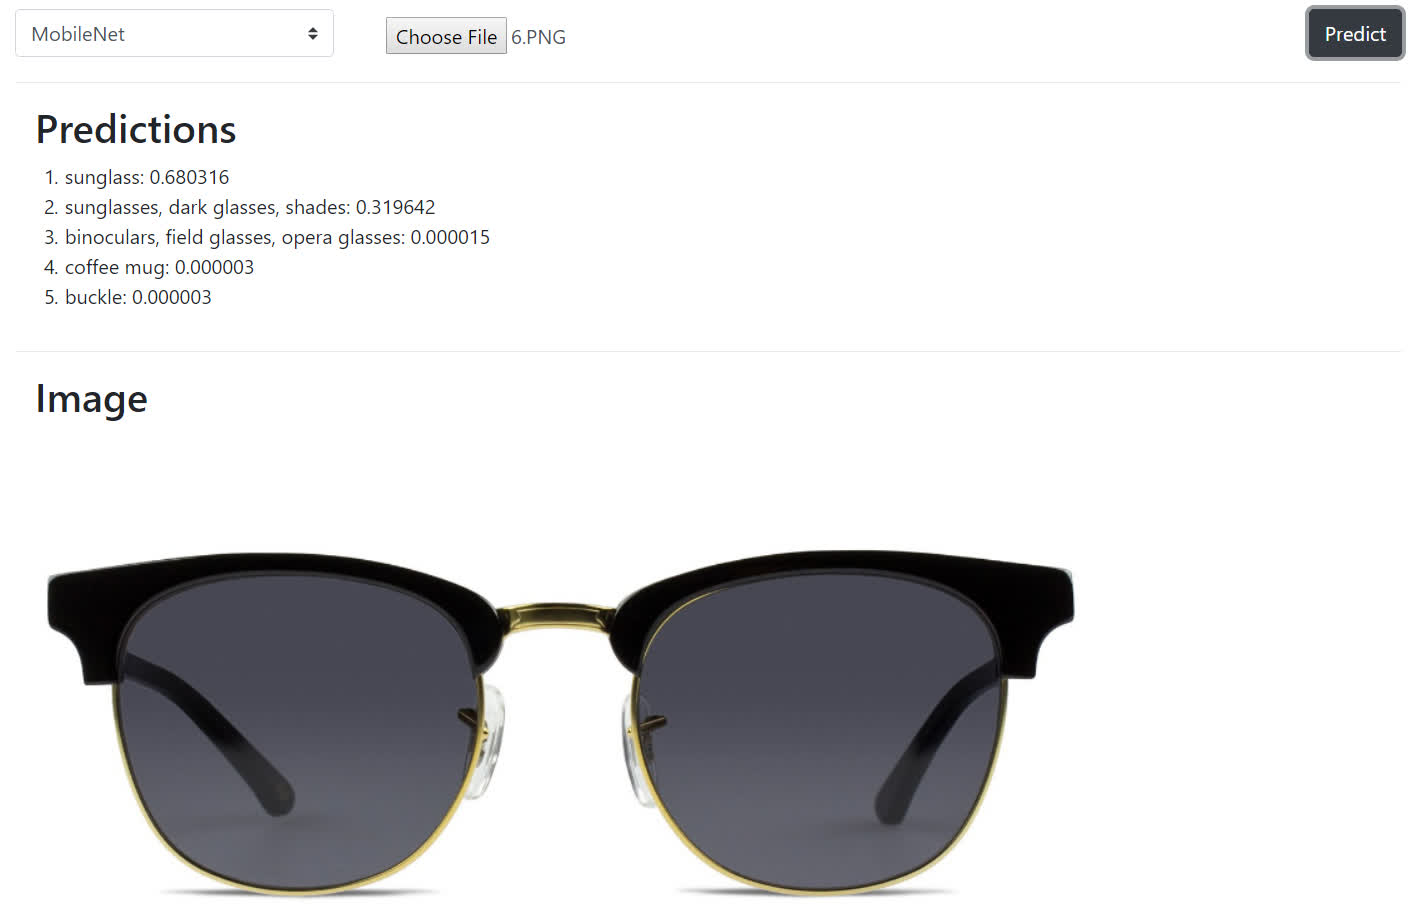
So hopefully this exercise has illustrated the practicality of using MobileNets in situations like these. Let me know in the comments if you were able to see the same vast improvements from implementing this on your side, and I'll see ya in the next video!
quiz
 DEEPLIZARD
Message
DEEPLIZARD
Message
resources
updates
Committed by on